Tag Archives: cooking from scratch

7 Ways to Immediately Improve the Quality of Your Food

_MG_9580 _MG_9332 _MG_9520

On a regular basis, usually while scrolling through social media sites, I come across posted articles offering up tips and information about eating healthy, and more often than not when I get part way through the article, I am cringing at the “facts” and information being shared with readers, as the information is often misguided, misunderstood, and sometimes even flat out wrong.

This happens beyond internet articles though. One of the most obnoxious tv commercials I’ve seen lately is for either vegetable or canola oil (can’t remember), where a woman is pushing her grocery cart down a store aisle and pauses to grab the olive oil, but then looks over at the vegetable (or canola) oil, puts the olive oil back, and grabs the other oil instead. The commercial ends with some “facts” about why this hydrogenated oil is a better choice than olive oil. All I can say is…you have to be kidding me. It makes me laugh every time.

So I’m here to clear up some information for you and hopefully provide you with what I truly believe to be good  & accurate information. And I admit, a lot of the information out there is contradicting and it’s sometimes hard to decide what’s right. Honestly though, some of it is just common sense, and I like to take a logical approach to eating and living a healthy lifestyle.

With that said, here is the bottom line rule to immediately improve the quality of the food you eat, resulting in a healthier and more enjoyable food and eating experience: cut out processed foods and added sugar. 

You may have heard this before, but it’s a big project to take on, and you may be thinking it’s easier said than done. Well being someone who has actually done this, and gotten to a point where these things are very limited in my daily diet, I have some specific tips to share with you on how to get started and get to a point where you aren’t regularly eating processed foods and added sugar. It’s hard to break old habits, but after some continuous effort and conscious decision making, it’ll quickly become part of your routine and be much easier than you think. So here we go…

1. Start reading the ingredients on the back of items you purchase. The reason I didn’t mention counting calories or cutting out fat as rules to eating healthy, is because they aren’t nearly as important as the ingredients that are actually in your food. I barely use the nutritional table on the back of items, but rather I read the list of ingredients. Now, there are so many ingredients that you can read but have no idea what they are. My suggestion is to do some research and inform yourself of what they are, or use my simple rule which is, if I was making this myself, would I use these ingredients to make this food? If the answer is no, I don’t buy the item. For example, I came across jarred roasted peppers, where the ingredients listed included sugar. Why would you add sugar to roasted peppers? It’s quite unnecessary. After some looking, I found another option, where the ingredients listed were simply peppers, olive oil, garlic, sea salt. That’s the one I bought. Once you start reading labels, you will quickly realize how much unnecessary sugar is added to so many things that wouldn’t normally call for sugar.

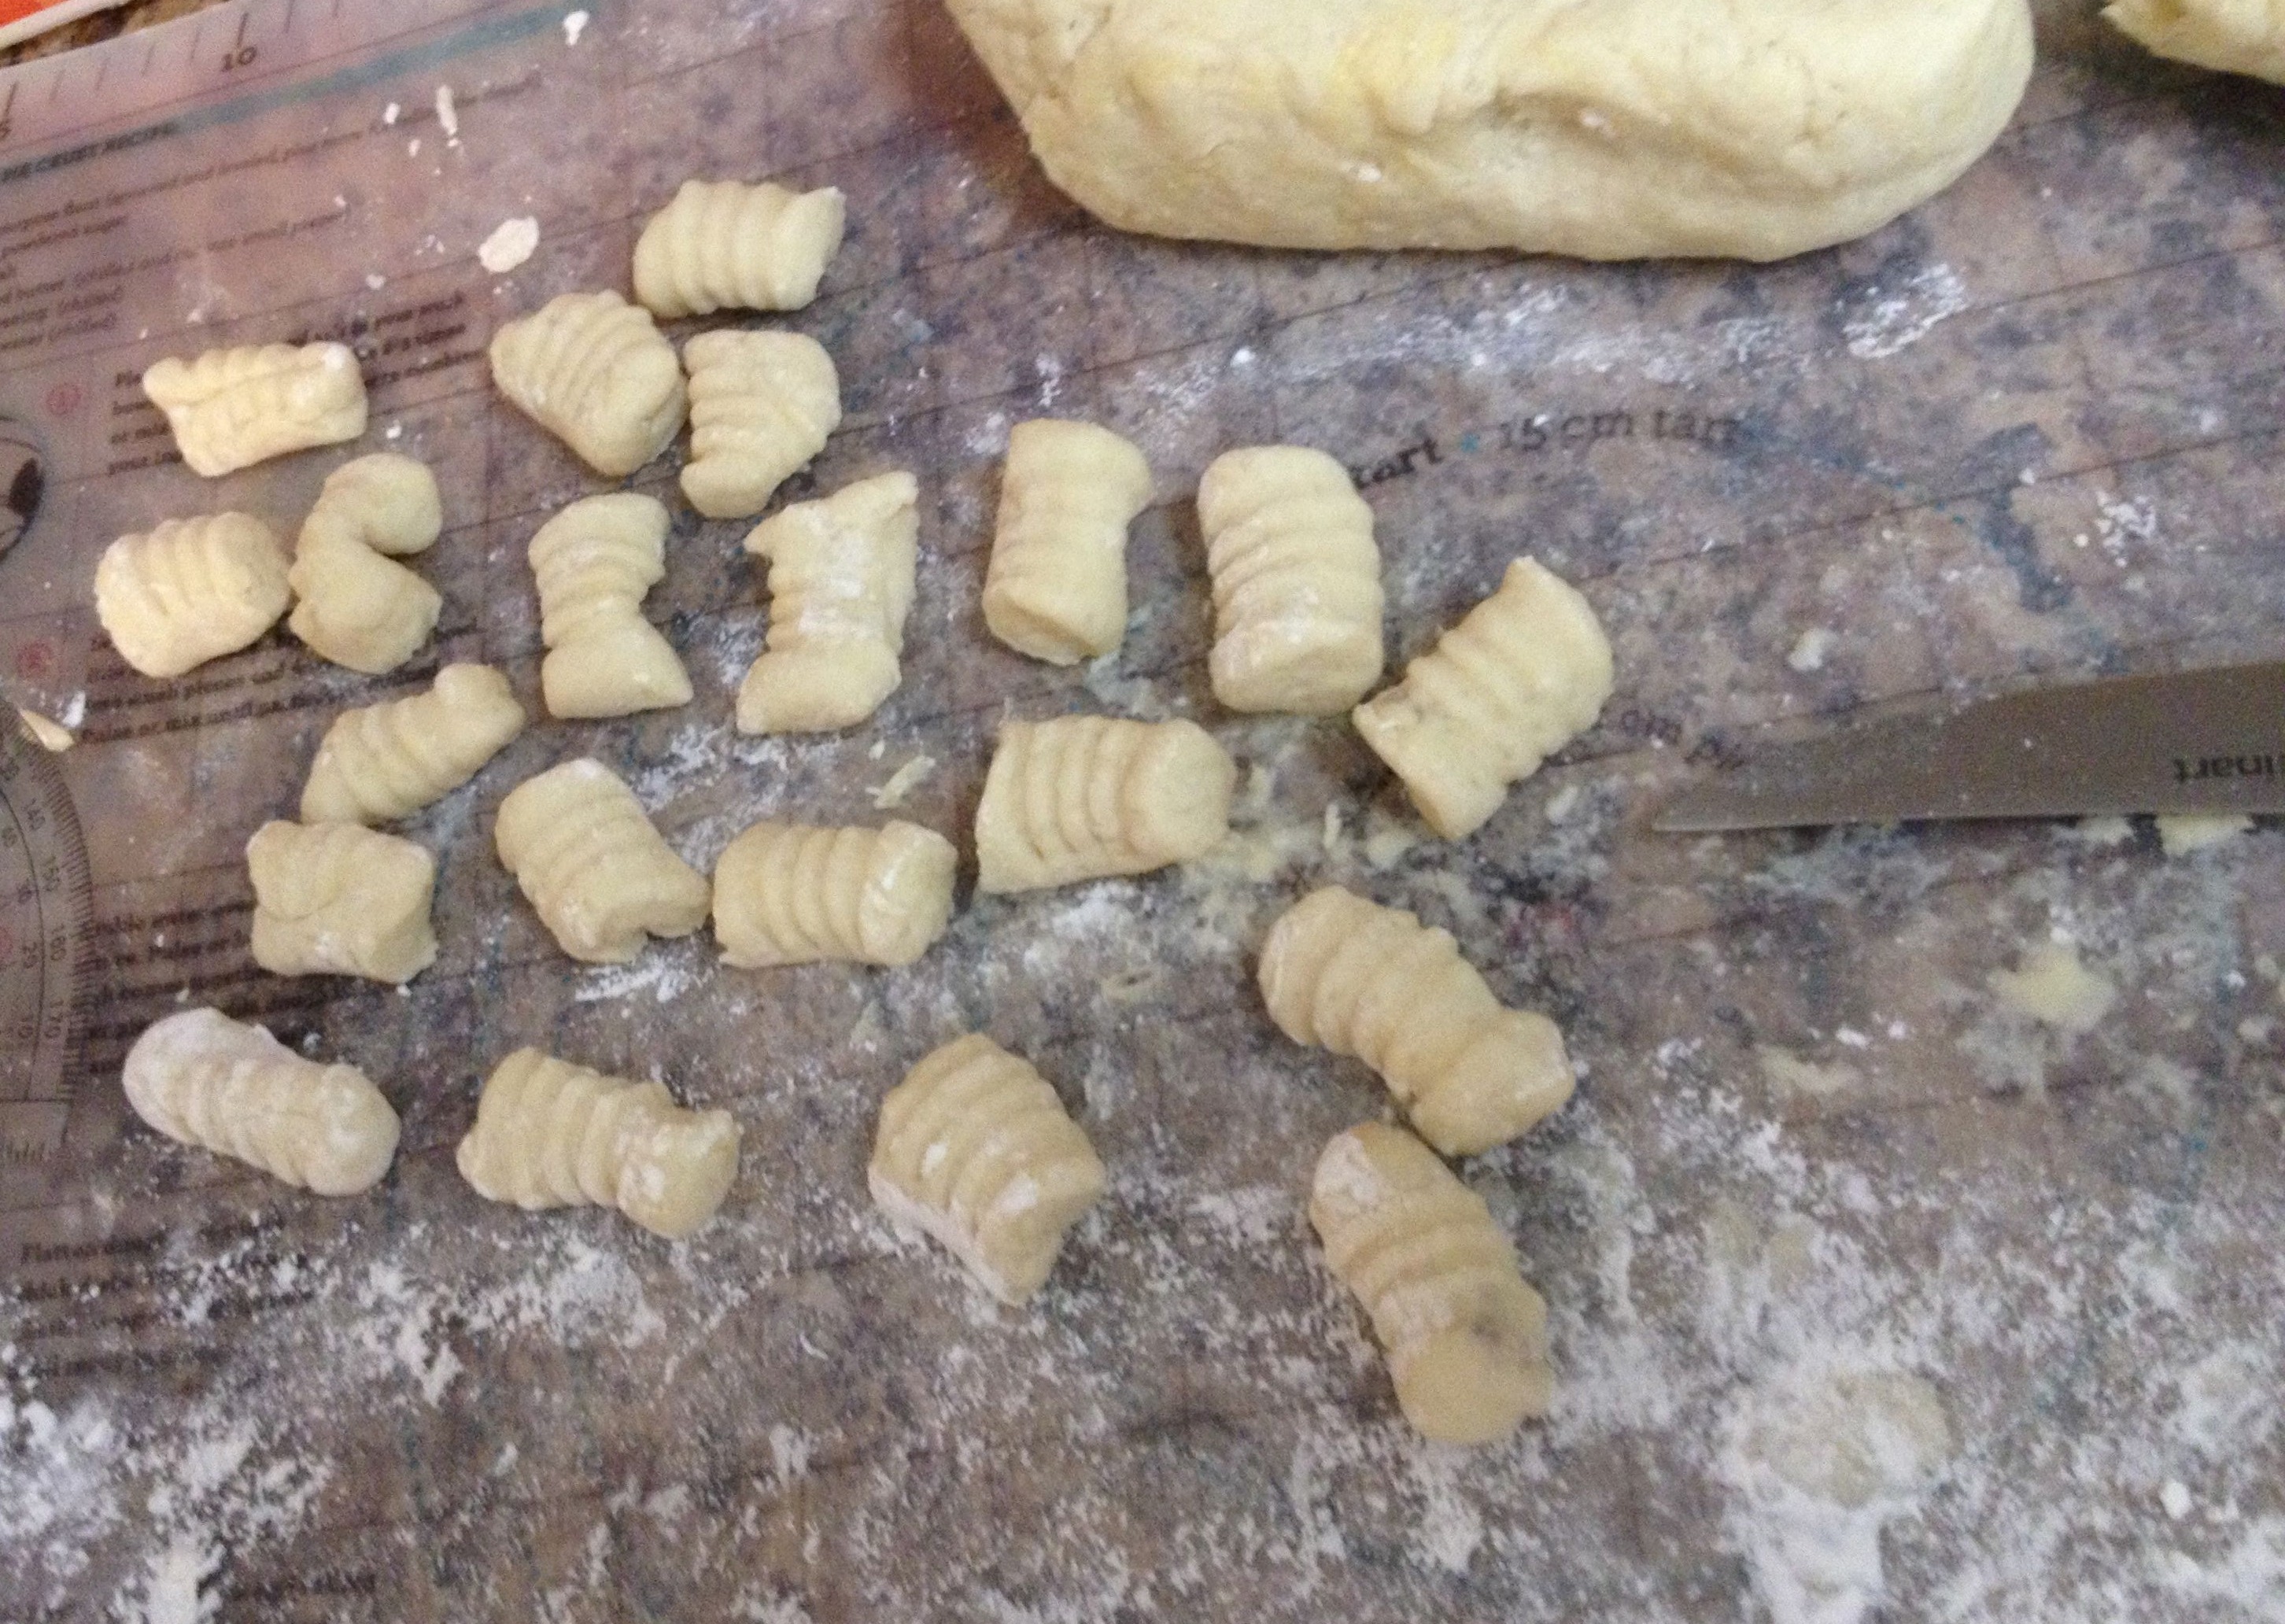
2. Learn to cook and make food from scratch. I think a lot of people buy packaged food that they could make at home because they are intimidated by cooking or they feel like they don’t have time to cook. Cooking your own food, and making food from scratch, will always be healthier than any pre-made option in a store. Hands down. Cooking is actually quite easy (and fun!), and just takes some practice. Once you learn the basics, you can easily throw something together on any given day using the ingredients you have in your fridge. I also share a lot of fun recipes on this blog- check them out! As for making time- we are all busy, but in my opinion, my health is worth my time. Find the time and use it.

3. Limit your intake of white flour based carbs and simple carbs. White flour and simple carbs turn into sugar once eaten, and are overly processed- not a good combo. There are so many delicious alternatives for carbs out there! Try complex carbs such as quinoa, farro, barley, or harvest grains (Trader Joe’s) as alternatives for pasta and white rice. Replace sliced white bread and potato bread with sprouted whole grain bread. Now, being Italian, I don’t expect anyone to cut out pasta all together ;), but limit it, and when you can, at least buy whole wheat, whole grain, or organic pasta.

4. Completely cut out sugary drinks. Soda, energy drinks, most juices, sweetened teas, etc.- just say no! These have ridiculous amounts of added sugar, and a lack of nutrition. Stick to water, sparkling water, coffee, tea, and vegetable juices. If you want fruit juice, buy or blend up a fruit drink that only includes fruit, vegetables, and either water, soy milk, or almond milk. Of course these will still have sugar, because there’s natural sugar in fruit, but at least there’s no added sugar. Want to make your water more interesting? Throw slices of lemon, lime, or cucumber into your water…delicious and fresh!

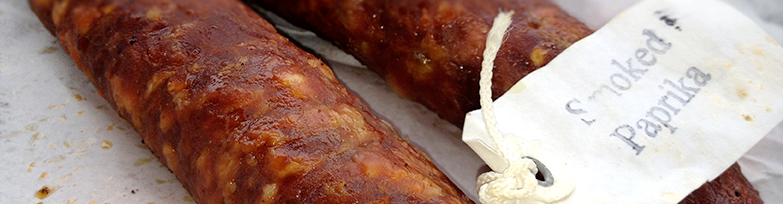
5. Limit your intake of hydrogenated and omega-6 oils. Oils like vegetable, canola, and corn are common hydrogenated oils and are high in omega-6’s.  Our bodies actually need a lot more omega-3’s than omega-6’s, which are healthy fats, and the following oils will give you just that: olive oil, avocado oil, and coconut oil. There are tons of other oils, but these are my favorite. I use olive oil for almost everything. There’s a reason the mediterranean diet is found to be one of the healthiest in the world (olive oil!). Not only do you want to avoid buying bottles of hydrogenated or oils high in omega-6’s for cooking, but also limit the amount of packaged foods you buy that list hydrogenated oils in their ingredients. Note: you’ll notice some packaged foods are trying to be “healthier” and list “non-hydrogentated” oils in their ingredients, which is good because they are less processed, but they still aren’t oils high in omega-3’s and good fats, which is why I would still avoid those oils (canola, vegetable, corn) as much as possible. Plus, olive oil just has so such complex flavor and is delicious with so many things!

6. Make your own snacks and limit pre-packaged snacks. Realistically, you won’t cut out pre-packaged snacks all together, but by following rule #1 (reading ingredients on packages) and making your own snacks whenever possible, you can make snacking a lot healthier. Here are some examples of super quick snacks you can make. 1. Chop up cherry tomatoes and cucumbers, then cover in a drizzle of olive oil, sea salt, and pepper. 2. Cut an avocado in half, drizzle with olive oil, chopped garlic, sea salt, and pepper. These are just a couple ideas and take only five minutes to make. It’s worth that five minutes! They taste 100x better than a bag of chips from a vending machine. Look out for my next post which will be a list of amazing yet healthy snacks and how to make them!

7. Pack your lunch for work instead of eating out. Eating out is convenient, but you don’t have 100% control of what’s in your food, either because options are limited or because ingredients in restaurants or fast food places aren’t listed or easily available. And plus, who’s going to stand there and ask someone for a list of ingredients in their food? Very unlikely. The better choice is to pack a lunch. It sounds time consuming at first, but it’s just about creating a routine, and once that routine is begun, it’s pretty easy. I pack a lunch every single day for work, and once you get good at it, you can do so in 30 minutes. And I’m not talking PB&J sandwiches…I’m talking healthy, delicious, nutritious food!

I hope these tips are ones that you can incorporate into your eating habits, and find helpful. Healthy eating isn’t a chore, it’s simply about eating high quality, fresh, and delicious food that isn’t overly processed or that has various unnecessary and questionable ingredients added to it. Eating in the Italian culture (and many cultures) is an important and treasured part of life, and is supposed to be an experience…so make it an amazing one!

If you like what you read, please subscribe via email so you can receive updates when I make new posts!

_MG_9472_1 _MG_0922_1 _MG_9574

Italian word of the day:

Olio d’oliva (n) = Olive oil


Farmers Market Inspiring Ingredients…Part II

   _MG_9546

As I mentioned in my last post, squash has always been a fall favorite in my family. Various types of squash were prepared in chunks, brushed with olive oil, and topped with fall spices like nutmeg and cinnamon, which would roast in the oven until tender. I still enjoy eating squash this way, but recently I’ve been addicted to a fantastic, mouth watering spaghetti squash recipe my boyfriend and I came up with, while deciding what veg to buy at the farmers market one weekend.

When cooked spaghetti squash is shredded with a fork, the strings of squash that are created resemble spaghetti, just as it’s name suggests. Taking a pile of shredded squash, placing it in a bowl, and topping it with homemade tomato sauce makes for a delicious and healthy alternative to pasta.  Unlike traditional flour pasta, this is such a nice, light meal, filling you up just right. Once you make this once, it will be your new fall go to recipe!

And remember, all these ingredients can be found at your local farmers market.

Spaghetti Squash with Homemade Tomato Sauce (serves 2)

The sauce:

1 medium cippolini onion (cippolini is a sweet, Italian onion variety which adds a bit of necessary sweetness to the sauce)

1 medium shallot

3 cloves garlic

1 1/2 pounds San Marzano tomatoes (or another variety if these are not at your farmers market. I actually used Early Girl tomatoes the last time I made this and they worked very well too)

1/4 cup red wine

1 tbsp balsamic vinegar

1/2 tsp salt

1/4 tsp pepper

1/2 tsp red pepper flakes

1 tsp dried basil

1 tsp dried oregano

1/2 tsp dried thyme

1/2 tsp raw sugar

2 tbsp tomato paste

1 cup water

The squash:

1 medium spaghetti squash

Drizzle of extra virgin olive oil

Pinch of salt, pepper, and nutmeg

3-5 strands of fresh Italian flat leaf parsley

Ready to cook! The sauce takes 1.5 – 2 hours to cook, so plan accordingly and give yourself plenty of time. Cooking homemade tomato sauce in a short period of time doesn’t allow for the tomatoes and acidity to break down or the flavors to blend.

1. Chop the cippolini, shallot, and garlic. Chop the tomatoes into medium pieces. Drizzle the bottom of a pot with olive oil, and heat over medium low.

_MG_9472_1   _MG_9479

2. Add the cippolini, shallot, and garlic to the pot and sautee for 6-8 minutes until tender.

_MG_9489     _MG_9492

3. Add the tomatoes, red wine, balsamic vinegar, all the spices, sugar, tomato paste, and water. Give a stir to combine. Bring the sauce to a boil, and then reduce to a simmer (medium low), and cover. For the next 1 1/2 – 2 hours, give a quick stir every 10-15 minutes.

_MG_9507    _MG_9514

_MG_9520    _MG_9527

4. Prep the squash. Cut the spaghetti squash in half length wise. Place both halves on a baking sheet with the inside of the squash face up.

5. Drizzle each squash half with olive oil and sprinkle with salt, pepper, and nutmeg to your liking.

_MG_9538   _MG_9546

6. Heat the oven to 350°. The squash takes 45-55 minutes to cook, so place the squash in the oven 45 minutes before the sauce is done. This way the sauce and squash can be done approximately at the same time.

7. Remove the squash from the oven. Poke with a fork; the fork should easily enter the squash which is a sign the squash is finished and tender enough. Let cool for a few minutes.

8. Take a fork, turn upside down, and with some pressure pull the prongs along the inside of one of the halves. Repeat this “shredding” motion until all the inside of the squash is removed from the skin and has created a pile of strings of squash, resembling spaghetti. Repeat this step for the second half of the squash.

_MG_9548   _MG_9553

9. Place a pile of squash into the bottom of two bowls. Top each pile of squash with a couple spoonfuls (ladle size) of the sauce.

_MG_9563   _MG_9565


_MG_9574


10.  Roughly chop the 3-5 strands of fresh parsley and top each dish with it.

_MG_9580

Serve and mangia! Don’t forget to pair it with a glass of red wine- a good red goes perfectly with the tomato sauce full of dried herbs.


Italian word of the day:

Pomodoro (n) = tomato (or pomodor= tomatoes)

*(pronunciation: poh-moh-door-oh)


Handmade Gnocchi with my Italian Grandmother

47681_10100885407388358_1964101235_n  IMG_3202

I didn’t make gnocchi with my Grandma until I was 22 years old, despite being surrounded by her Italian culture and traditions since I was born. It was one of those experiences we unfortunately never made time for; either school, sports, or childhood activities got in the way, filling up my sisters’ and my own schedule every weekend. There are always moments like these that are regrettable, but in the same thought though, I feel truly blessed to have finally had this cooking experience with her, even though it was much delayed.

Although my Grandma enjoyed cooking and had her share of family recipes, I wouldn’t say she was the typical Italian Grandmother in the kitchen, the cooking guru who cooked day in and day out, teaching the rest of the family these important skills. I actually learned most of what I know about cooking from my dad; a bit of a break away from the tradition of the Italian mother or grandmother being the family cook. My dad fulfilled this role instead, passing on the necessary skills to prepare Italian cuisine to my sisters and I. What my Grandma contributed though was the culture, the language, and the tradition behind the cooking. A significant aspect that could only be taught by someone from the older generation, who lived the first generation experience in America, directly learning all she knew about Italian culture from her immigrant parents.

This is what made the day my sister and I made gnocchi with my Grandma so special. Not only did we learn how to make gnocchi, we learned the tradition behind the process from the way you knead your dough with your hands, to dropping the egg into the middle of the flour, to the use of the fork and rolling the gnocchi down the fork, giù,” to create the authentic indents in each gnocchi piece. As the four year anniversary of her death recently passed, I dedicate this July post to her and to our once in a lifetime experience of making gnocchi with our Italian grandmother.

Now, we begin! This recipe will feed a family of 5. (Gnocchi is very filling; servings are not as large as other types of pasta)

Tools you will need: Flat workspace (pastry mat works well, cloth or silicone), potato masher, knife, table fork, baking sheet, large pot

_MG_1025

Ingredients:

2 pounds brown russet potatoes

Pinch of salt

2 cups all purpose flour (*this is not exact; may need another 1/4-1/2 cup if dough is still sticky)

1 egg

1. You will begin the process by boiling the potatoes. To prep the potatoes for boiling, wash, peel, and cut the potatoes into halves. Place the potato halves into a bowl of cold water, and let the potatoes sit and soak for 30 mins. This is a trick I learned to ridden the potatoes of some of their starch. As you are waiting, fill up a large pot with water, a pinch of salt, and bring to a boil. Drain the potatoes out of the bowl of cold water, and add them to the pot with the boiling water. Cook potatoes until tender. Test tenderness by sticking a fork through a potato piece; the fork should easily slip into the potato. The potato should not break apart though and that would be a sign they are too soft and overcooked. Drain potatoes into a strainer and let cool for a few minutes.

2. Move to your work surface: place about half of your flour (1 cup) on the surface. Then directly on top of the flour, take your potato masher, place one potato half at a time in the masher, and squeeze out over the flour. Repeat this until all the potatoes have been mashed. Add the rest of the flour (1 more cup) on top of the mashed potatoes, and mix the heap of flour and potatoes with your hands. Mix just until ingredients are combined. (In the photo below, the potatoes are being mashed into a bowl first, and then transferred to the flat mat. This is not necessary; they can be mashed right onto the flour.)

 IMG_3178

3. Make an indent or small hole in the middle of the mixture with your hand. Drop the egg into the indent, and slowly mix egg into flour and potato mixture. It is crucial you make an indent to add the egg. Otherwise it just slips off the top of the mixture and runs all over your work space. This part can be a bit messy! Knead with hands until dough is no longer sticky. Test by poking with your finger- the dough should not stick to your finger. This is where you can add a little extra flour if the dough just won’t loose it’s stickiness. Be careful to not over knead; stop as soon as the dough is not sticky. I find it helpful to wash my hands at this point as there’s usually dough all in-between your fingers. This will make it easier to handle the dough in the next step.

IMG_3182 IMG_3189

IMG_3191

4. Clean or wipe your workspace, or move to a new one if you have the option. Lightly flour the workspace. Divide the dough evenly into four parts. Working with one part at a time, roll out a part with your hands into a log about 3/4in-1in in diameter. Apply pressure evenly with your hands, and roll by moving hands from center towards the roll’s ends. Repeat this until the log has lengthened and about the diameter mentioned above. Log should be even from one end to the other.

101_1192

5. Take a knife and cut the log into approx. 3/4in long pieces.

101_1194

6. Now it’s time for “giù!” As my Grandma and her mother did, the traditional way to shape each piece of gnocchi is to push each piece down the ridges of a table fork. As my Grandma taught us this motion she would say “giù, down the fork!” as giù in Italian means down or downwards. This is a tricky motion that takes some practice; I squished enough gnocchi pieces in my experience by applying too much pressure. Be light with your hands and find a consistent pressure and motion. Here we go-

Hold your fork in one hand and lean the bottom of the prongs against your work surface. Take one of the 3/4in pieces of dough and place at the top of the fork’s prongs, holding it with your thumb. Then with your thumb, press lightly and roll the piece of dough downwards to the bottom of the fork’s prongs. The piece of dough should roll as it’s moving and when finished is covering your thumb. And that is how gnocchi pieces have lines on one side and an indent (from your thumb) on the other side! Cool huh? There are lots of tools and makers available these days to assist you, but I think it’s much more rewarding to do all this by hand, knowing your hands created the design and shape of each individual gnocchi piece.


IMG_3192

Repeat the motion of rolling the dough pieces down the fork until you finish the roll you cut up. When finished repeat steps 5 and 6 for each dough part, until all dough has been made into gnocchi pieces. After 100 or so giù motions down the fork, you will be an expert! 😉

7. Line up the gnocchi pieces as you work on a baking sheet; there will be many pieces and you may need more than one sheet. Do not stack the pieces as they will stick and their forms will be ruined. If you want to freeze the gnocchi and save for later cooking, place gnocchi is large, flat container with lid, keeping the gnocchi in flat layers, dividing each layer with wax paper. This has worked very well for me in keeping the gnocchi separated.

IMG_3196

8. If you want to cook immediately, boil a pot of water with a pinch of salt. Add gnocchi pieces to the boiling water. They only take a few minutes to cook so don’t walk away! As soon as the gnocchi rises to the top of the water and floats on the surface, they are done. Using a slotted spoon, remove the gnocchi from the water and place into a large bowl. Do not drain water as it will take many batches to finish boiling the gnocchi; you do not want to boil them all at once and crowd the pot. As you are working on the batches, add a little olive oil or butter to the already cooked gnocchi in the bowl to keep them from sticking.

101_1208

Cover with your favorite sauce, and your gnocchi is ready to eat! Sauces for gnocchi can range from simple, like butter and sage, or olive oil and herbs, to more complex, such as a red tomato sauce or Italian cheese sauce (usually a mix of Italian cheeses and referred to as “quattro formaggio.”) I will cover some sauce recipes for pasta in a future post.

You will never look at store bought gnocchi the same way again! Homemade pasta is a truly authentic experience, and I am grateful I have experienced this tradition to be able to pass this on to my own kids one day. Molto grazie Grandma————————♥

If this post has inspired you to try making gnocchi, please post a picture of your own gnocchi making experience below- I would love to hear about it!

Enjoy & mangia!

DSCI0231 DSCI0232

Italian word of the day:

Cucinare (v) = to cook  *(pronunciation: coo-chee-nar-ay)