Tag Archives: cooking tips

A Twist on the Traditional Genovese Pesto

When I traveled to Italy to meet my cousins, I was lucky to taste a homemade version of Genoa’s classic sauce, pesto genovese. The word pesto comes from the Italian verb pestare, meaning to crush or pound, hence the traditional motion of crushing the basil using a mortar and pestle.

_MG_0928_1

Traditionally, pesto genovese like the one I tasted in Genoa is made up of the following ingredients: basil, pine nuts, garlic, parmigiano (parmesan), and olive oil. Although I always have a soft spot for the traditional Italian versions of recipes, pesto is a fun recipe to experiment with and try adding new ingredients.

In my following recipe, I have combined basil and parsley together to create a twist on traditional pesto. Both basil and parsley are considered “super foods” due to their high levels of antioxidants and nutrients, so why not combine them and make a super pesto- something that isn’t only delicious but is healthy and beneficial! And as I said earlier, pesto is fun to experiment with, so after my recipe I will offer different ingredient ideas to play with.

Basil and Parsley Pesto (makes enough for 1-1.5 lbs of pasta; serves approx 5-7 people)

Ingredients:

4 ounces basil (suggestion: 4 ounce container of organic basil from Trader Joe’s is a great value!)

1/2 of a bunch of Italian flat leaf parsley

1/3 cup pine nuts

3 cloves of garlic

1/3 cup of a mix of parmigiano and pecorino (suggestion: tub of parmigiano and pecorino grated mix found at Trader Joe’s in the cheese section)

1 cup extra virgin olive oil

1 tsp lemon juice 

1/4 tsp salt and 1/4 tsp pepper (or add to taste)

Although using a traditional mortar and pestle can be fun………let’s make this easy and use a food processor. 😉

In your food processor, add the basil and parsley, and “pulse” until the leaves appear finely chopped. Add the pine nuts and garlic, and pulse again for about 30 seconds or until pine nuts and garlic are broken down and mixed into green mixture. Now add the pecorino and parmigiano and pulse until mixed. I bought the cheese grated so I didn’t have to mix for very long to break down the cheese; pulse longer if you bought in larger pieces.

Now it’s time to add the olive oil. You want to add this slowly while letting it mix into the basil and parsley mixture. You can easily achieve this by pouring the olive oil into the pouring attachment on the top of your food processor and letting the food processor run while the oil steadily drips out of the top attachment into the mixture. Once all the oil is added and mixed in, add in the lemon, salt, and pepper and pulse for a few moments to finish the pesto off.

_MG_0922_1

COOKING TIP! The most important step, which is true for any time you cook, is to give it a taste test. Successful cooks are able to taste, analyze the flavors at hand, notice what’s missing, and respond by adding a “little of this” or a “little of that.” Don’t be afraid of messing up recipes by not following exact measurements! The more you practice, the better you will get at it……so go ahead and taste the pesto. Does it need more salt or pepper? Are you happy with the oil to basil/parsley ratio? (Hence, do you want it more or less oily?) Note that the recipe I gave you above it not a super oily pesto mixture; it’s thick and well balanced, and can be used as a traditional sauce in pasta as well as a spread for sandwiches, meats, or veg. If you would like the oil to basil/parsley ratio to be higher, add another 1/4 cup olive oil. You can also just do this when you are about to store it, as I am about to explain below.

So you’ve tasted, maybe added a bit of pepper or olive oil, and have decided your pesto is perfect! Now let’s store it. Pour it into a container and drizzle a light layer of olive oil on the top of the pesto to keep it moist. If you’re going to use it within a handful of days, store it in a container in the refrigerator. If you’re going to use it later than that or are not sure how soon you’ll use it, store the container in the freezer. I recently made this for a dinner party a couple days in advance, and I still put mine in the freezer just to be sure it didn’t brown or dull in color. And it was super easy to remove and let defrost- took no time at all.

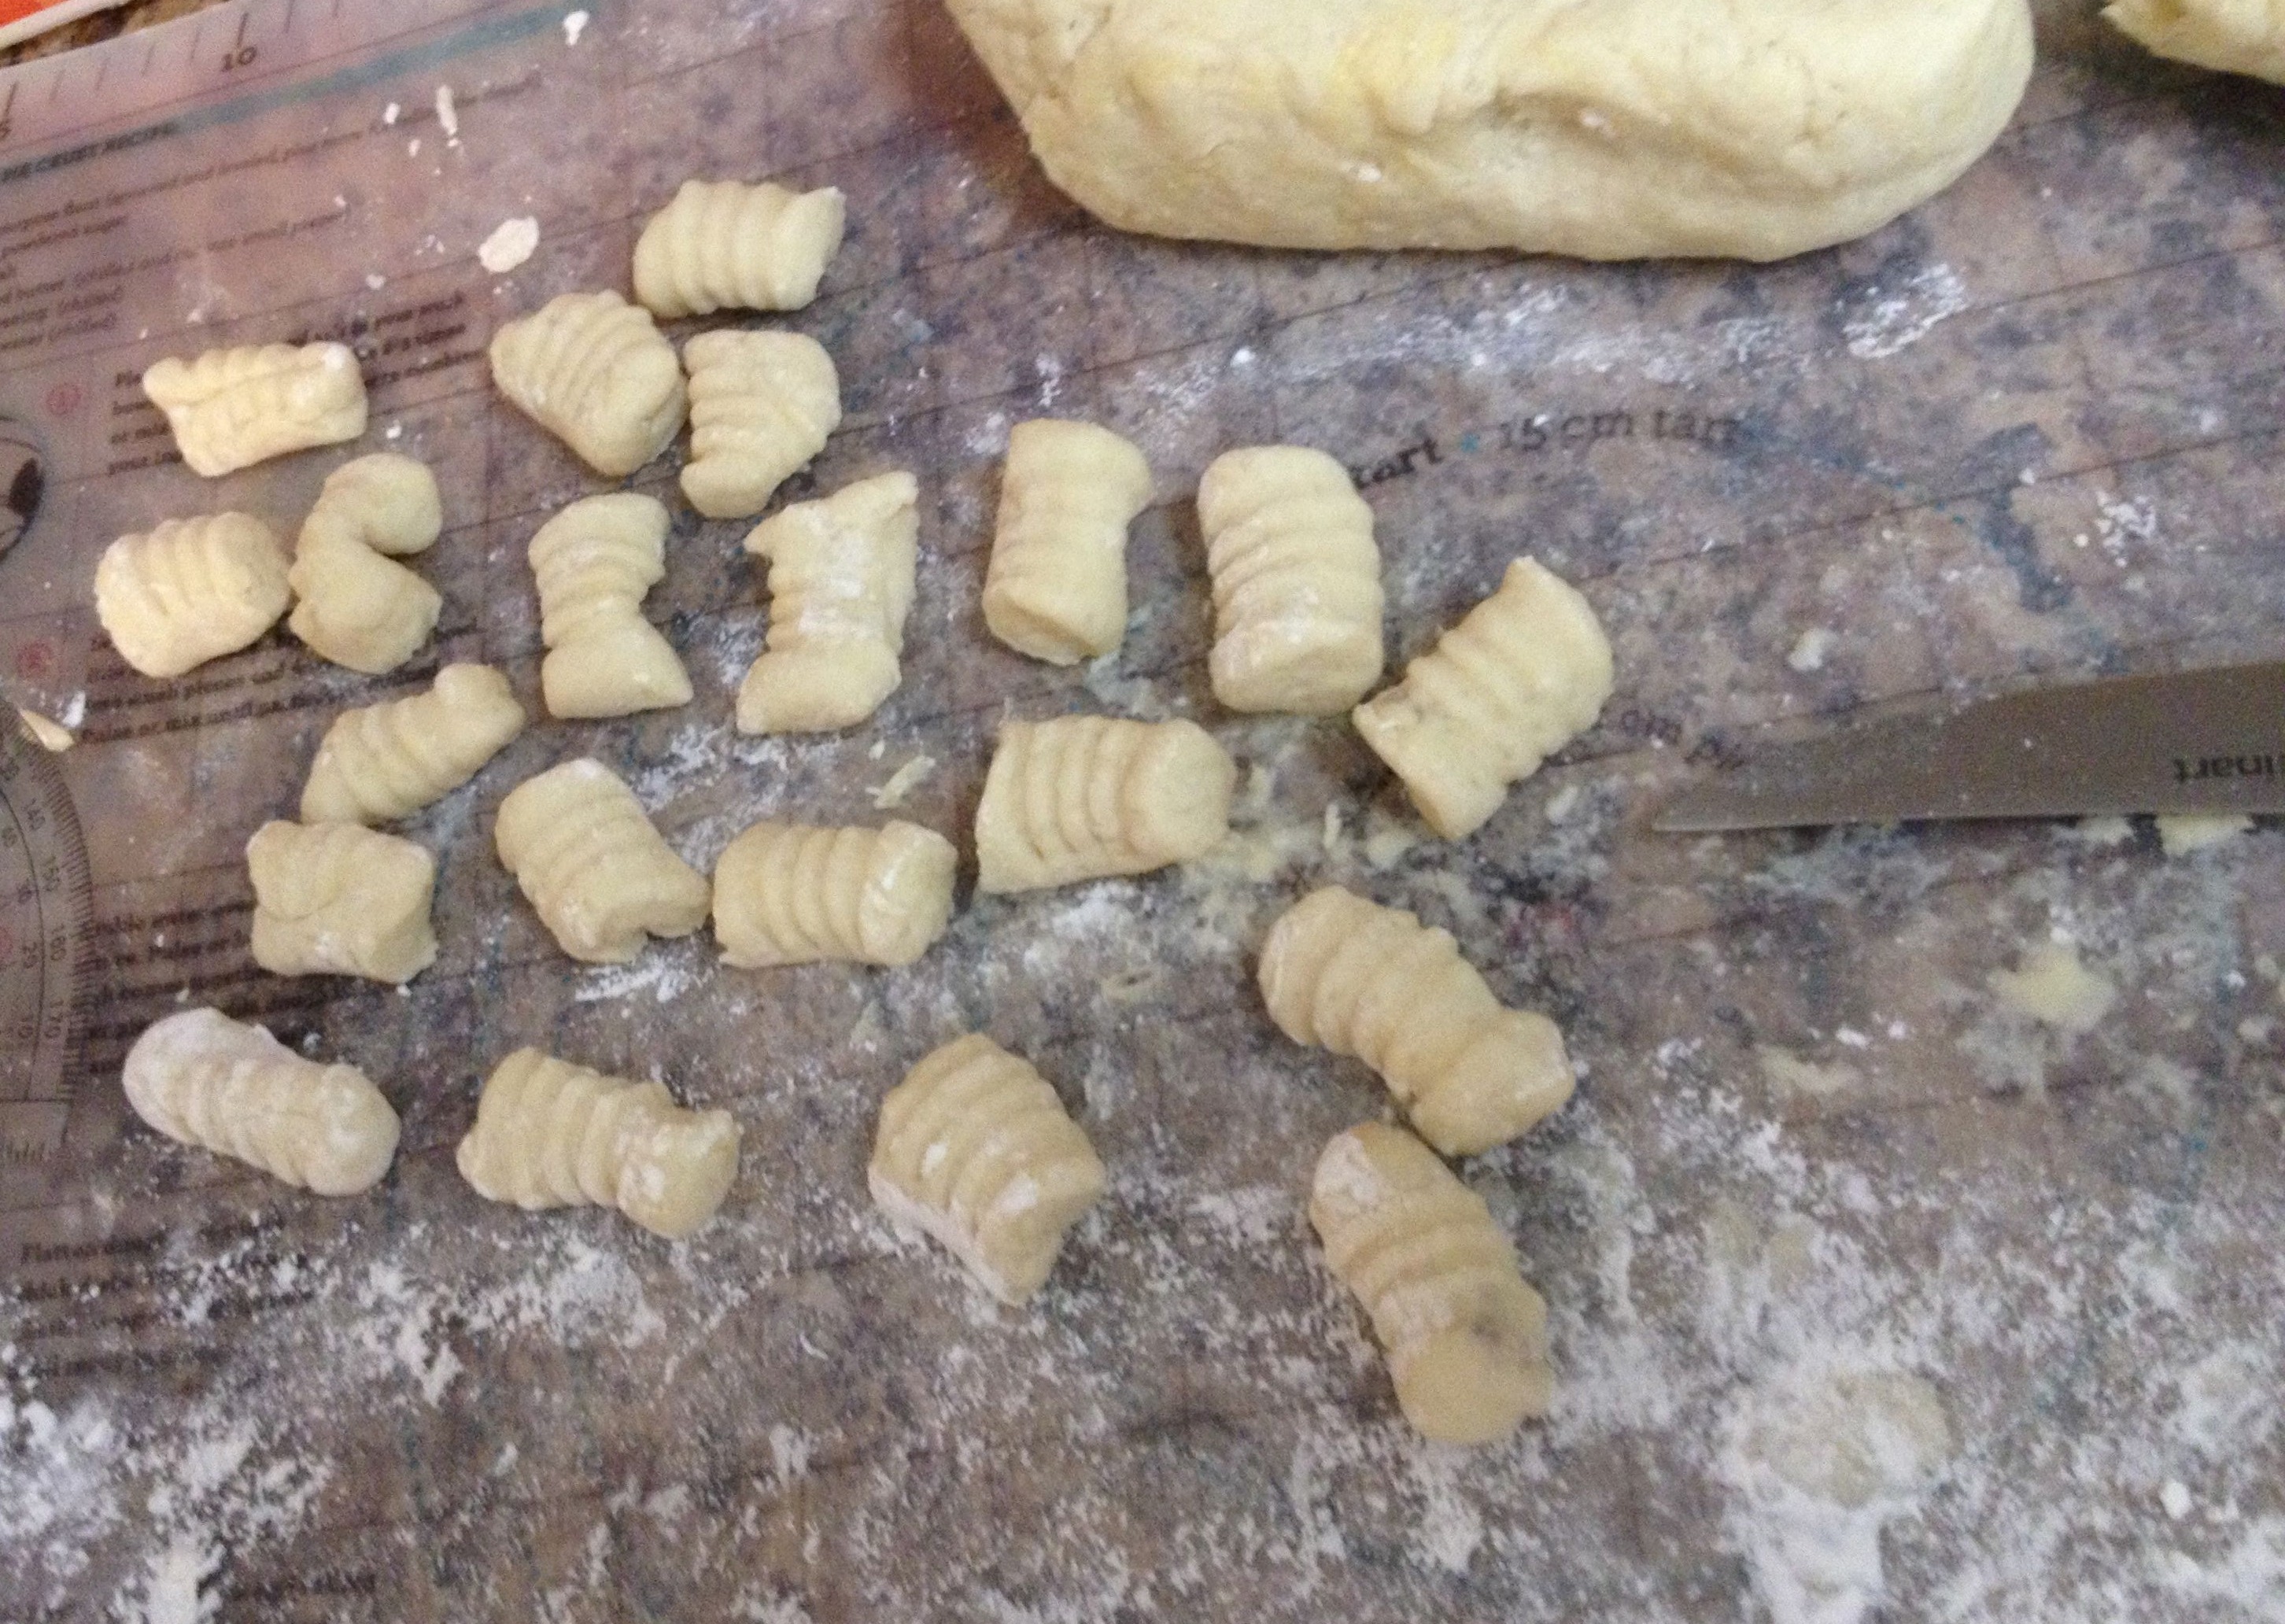
When you are ready to use it, add a spoonful at a time to your pasta (or whatever you may be adding it to) and remember, a little bit of pesto goes a long way! I’ve always enjoyed pesto on farfalle pasta, linguini, or spaghetti, but when I was in Italy, my family shared with me a very traditional pasta to serve with pesto: trofie. You may not have heard of this, as it is uncommon in the U.S., and is hard to find in stores. You may be able to find it in some speciality food stores, and for sure online. Trofie is small, thick wavy pieces of pasta and is the traditional choice for pesto sauce in northern Italy. It is a heavy pasta; reminds me of gnocchi, except it is flour pasta, not potato. I encourage you to find and try this!

Here are some other ideas for experimenting and making your own pesto:

Herbs: basil, Italian flat leaf parsley, arugula, cilantro, oregano, thyme, sage, rosemary

Cheeses: parmigiano, pecorino romano, asiago, or any other Italian hard cheese alone or in blends

Additional ingredients: sundried tomatoes, shallots, pine nuts, walnuts (another Genovese tradition!)

Enjoy & mangia! I encourage you to post a picture below sharing your pesto making experience 🙂

My Italian family and I after our first pesto and trofie dinner in Italia!

My Italian family and I after our first pesto and trofie dinner in Italia! Grazie for teaching us this delicious traditional recipe.

Italian word of the day:

Parmigiano (n) = an Italian hard cheese and the Italian word for parmesan

*(pronunciation: par-mee-jah-no)


Handmade Gnocchi with my Italian Grandmother

47681_10100885407388358_1964101235_n  IMG_3202

I didn’t make gnocchi with my Grandma until I was 22 years old, despite being surrounded by her Italian culture and traditions since I was born. It was one of those experiences we unfortunately never made time for; either school, sports, or childhood activities got in the way, filling up my sisters’ and my own schedule every weekend. There are always moments like these that are regrettable, but in the same thought though, I feel truly blessed to have finally had this cooking experience with her, even though it was much delayed.

Although my Grandma enjoyed cooking and had her share of family recipes, I wouldn’t say she was the typical Italian Grandmother in the kitchen, the cooking guru who cooked day in and day out, teaching the rest of the family these important skills. I actually learned most of what I know about cooking from my dad; a bit of a break away from the tradition of the Italian mother or grandmother being the family cook. My dad fulfilled this role instead, passing on the necessary skills to prepare Italian cuisine to my sisters and I. What my Grandma contributed though was the culture, the language, and the tradition behind the cooking. A significant aspect that could only be taught by someone from the older generation, who lived the first generation experience in America, directly learning all she knew about Italian culture from her immigrant parents.

This is what made the day my sister and I made gnocchi with my Grandma so special. Not only did we learn how to make gnocchi, we learned the tradition behind the process from the way you knead your dough with your hands, to dropping the egg into the middle of the flour, to the use of the fork and rolling the gnocchi down the fork, giù,” to create the authentic indents in each gnocchi piece. As the four year anniversary of her death recently passed, I dedicate this July post to her and to our once in a lifetime experience of making gnocchi with our Italian grandmother.

Now, we begin! This recipe will feed a family of 5. (Gnocchi is very filling; servings are not as large as other types of pasta)

Tools you will need: Flat workspace (pastry mat works well, cloth or silicone), potato masher, knife, table fork, baking sheet, large pot

_MG_1025

Ingredients:

2 pounds brown russet potatoes

Pinch of salt

2 cups all purpose flour (*this is not exact; may need another 1/4-1/2 cup if dough is still sticky)

1 egg

1. You will begin the process by boiling the potatoes. To prep the potatoes for boiling, wash, peel, and cut the potatoes into halves. Place the potato halves into a bowl of cold water, and let the potatoes sit and soak for 30 mins. This is a trick I learned to ridden the potatoes of some of their starch. As you are waiting, fill up a large pot with water, a pinch of salt, and bring to a boil. Drain the potatoes out of the bowl of cold water, and add them to the pot with the boiling water. Cook potatoes until tender. Test tenderness by sticking a fork through a potato piece; the fork should easily slip into the potato. The potato should not break apart though and that would be a sign they are too soft and overcooked. Drain potatoes into a strainer and let cool for a few minutes.

2. Move to your work surface: place about half of your flour (1 cup) on the surface. Then directly on top of the flour, take your potato masher, place one potato half at a time in the masher, and squeeze out over the flour. Repeat this until all the potatoes have been mashed. Add the rest of the flour (1 more cup) on top of the mashed potatoes, and mix the heap of flour and potatoes with your hands. Mix just until ingredients are combined. (In the photo below, the potatoes are being mashed into a bowl first, and then transferred to the flat mat. This is not necessary; they can be mashed right onto the flour.)

 IMG_3178

3. Make an indent or small hole in the middle of the mixture with your hand. Drop the egg into the indent, and slowly mix egg into flour and potato mixture. It is crucial you make an indent to add the egg. Otherwise it just slips off the top of the mixture and runs all over your work space. This part can be a bit messy! Knead with hands until dough is no longer sticky. Test by poking with your finger- the dough should not stick to your finger. This is where you can add a little extra flour if the dough just won’t loose it’s stickiness. Be careful to not over knead; stop as soon as the dough is not sticky. I find it helpful to wash my hands at this point as there’s usually dough all in-between your fingers. This will make it easier to handle the dough in the next step.

IMG_3182 IMG_3189

IMG_3191

4. Clean or wipe your workspace, or move to a new one if you have the option. Lightly flour the workspace. Divide the dough evenly into four parts. Working with one part at a time, roll out a part with your hands into a log about 3/4in-1in in diameter. Apply pressure evenly with your hands, and roll by moving hands from center towards the roll’s ends. Repeat this until the log has lengthened and about the diameter mentioned above. Log should be even from one end to the other.

101_1192

5. Take a knife and cut the log into approx. 3/4in long pieces.

101_1194

6. Now it’s time for “giù!” As my Grandma and her mother did, the traditional way to shape each piece of gnocchi is to push each piece down the ridges of a table fork. As my Grandma taught us this motion she would say “giù, down the fork!” as giù in Italian means down or downwards. This is a tricky motion that takes some practice; I squished enough gnocchi pieces in my experience by applying too much pressure. Be light with your hands and find a consistent pressure and motion. Here we go-

Hold your fork in one hand and lean the bottom of the prongs against your work surface. Take one of the 3/4in pieces of dough and place at the top of the fork’s prongs, holding it with your thumb. Then with your thumb, press lightly and roll the piece of dough downwards to the bottom of the fork’s prongs. The piece of dough should roll as it’s moving and when finished is covering your thumb. And that is how gnocchi pieces have lines on one side and an indent (from your thumb) on the other side! Cool huh? There are lots of tools and makers available these days to assist you, but I think it’s much more rewarding to do all this by hand, knowing your hands created the design and shape of each individual gnocchi piece.


IMG_3192

Repeat the motion of rolling the dough pieces down the fork until you finish the roll you cut up. When finished repeat steps 5 and 6 for each dough part, until all dough has been made into gnocchi pieces. After 100 or so giù motions down the fork, you will be an expert! 😉

7. Line up the gnocchi pieces as you work on a baking sheet; there will be many pieces and you may need more than one sheet. Do not stack the pieces as they will stick and their forms will be ruined. If you want to freeze the gnocchi and save for later cooking, place gnocchi is large, flat container with lid, keeping the gnocchi in flat layers, dividing each layer with wax paper. This has worked very well for me in keeping the gnocchi separated.

IMG_3196

8. If you want to cook immediately, boil a pot of water with a pinch of salt. Add gnocchi pieces to the boiling water. They only take a few minutes to cook so don’t walk away! As soon as the gnocchi rises to the top of the water and floats on the surface, they are done. Using a slotted spoon, remove the gnocchi from the water and place into a large bowl. Do not drain water as it will take many batches to finish boiling the gnocchi; you do not want to boil them all at once and crowd the pot. As you are working on the batches, add a little olive oil or butter to the already cooked gnocchi in the bowl to keep them from sticking.

101_1208

Cover with your favorite sauce, and your gnocchi is ready to eat! Sauces for gnocchi can range from simple, like butter and sage, or olive oil and herbs, to more complex, such as a red tomato sauce or Italian cheese sauce (usually a mix of Italian cheeses and referred to as “quattro formaggio.”) I will cover some sauce recipes for pasta in a future post.

You will never look at store bought gnocchi the same way again! Homemade pasta is a truly authentic experience, and I am grateful I have experienced this tradition to be able to pass this on to my own kids one day. Molto grazie Grandma————————♥

If this post has inspired you to try making gnocchi, please post a picture of your own gnocchi making experience below- I would love to hear about it!

Enjoy & mangia!

DSCI0231 DSCI0232

Italian word of the day:

Cucinare (v) = to cook  *(pronunciation: coo-chee-nar-ay)


The Famous Italian Lunch Spread: A How To.

Have you ever seen a picture of an Italian lunch spread sprawled out across a table and wonder what goes into creating it? I know the food options seem endless and it looks like a lot of work, but it’s actually quite easy if you understand the main concepts and ideas behind it. In this post, I’m going to share with you those concepts, so you can attempt to put together your own Italian lunch (or dinner) spread, and have an authentic Italian eating experience. It’s more than just the type of food included in the meal; it’s the way we eat it that makes the experience complete. So get ready……to eat A LOT.

photo-2

One of my favorite and most exciting foodie memories were the occasions my Dad would call home from work and ask my mom if we all wanted “pucha” and cold cuts for dinner. We would be soooo excited, as this was a once in while treat and our absolute favorite. Then there was the most exciting moment of all, when we would come to the table and give drooling stares to the plates of meats, cheeses, vegetables, and breads lying out all over the table.

“Pucha” in my family means “to dip” but overtime it also became the noun we called the olive oil dip that we would dip our food into when having a large Italian spread for dinner. I can’t say where it’s derived from. I can’t locate it in the formal Italian language, but it is a term my great grandparents and grandparents used which was passed down to my dad and us kids over the years. I’m assuming it was short for a word in their specific Italian dialect. Either way, it stuck and I’m going to use the term throughout this post.

Ok, so let’s start prepping our spread by beginning with the dipping oil!

The key to good “pucha,” or the seasoned olive oil that food is dipped into, is to use high quality olive oil. Cheaper olive oils can be used for cooking, but you’ll want to buy a higher grade for dipping. Some tips on how to determine and buy a good olive oil-

1. Higher quality oils usually start at about $12 and go up from there. They can be extremely expensive, but I usually stick to around $12-20 and have found some great options such as: Lucini (any large grocery store), De Cecco (any large grocery store), Colavita (any large grocery store), Sicilian Olive Oil (Trader Joe’s), and Organic Extra Virgin Olive Oil (Trader Joe’s).

2. If you want a traditional Italian experience, always buy oil “imported from Italy.” Be diligent about checking the back of the bottle for this information, because it’s not uncommon to turn the bottle over and read that the olives come from various different countries even though it’s called Italian olive oil on the front of the bottle.

3. Try specialty food stores- they will have much more variety than a large chain grocery store.

4. Buy extra virgin!

Once you have your oil, it’s time to prep it:

  1. Start with olive oil and pour as much in a shallow bowl as you think you’ll need for the amount of bread you have or the amount of people you are serving.
  2. Add a splash of balsamic vinegar; not too much as it will be too acidic and salty. Sometimes balsamic isn’t added and you can just do olive oil and seasonings, but this is to your personal liking.
  3. Once you have the oil and vinegar splash, add in seasonings. There aren’t rules on exactly what to put in your oil. The best way is to experiment and try different variations each time you make it. Again, it’s all to personal taste and liking. Here’s some suggestions though: pepper, sea salt, dried basil, dried italian seasoning, dried herbs de provence, or dried thyme.

Tip: Don’t add all of these- just a combination of a couple to a few. Growing up, we sometimes just added salt and pepper and that is delicious alone; but some dried green herbs add great flavor. I also sometimes add chopped garlic, and if you’re a garlic lover like me, this is the way to go!

 Now for the huge table spread!

photo-3    photo-6

Us Italians love our variety, which is why our spread usually takes up a whole table. You can break up the variety into four groups: vegetables, cold cuts (meats), cheeses, and bread. When planning this for a group of people, make a grocery list of what you want to buy, but you can also just do this on the whim at home for you and your significant other by using what you have. This has always been my dad’s biggest rule. You obviously have to shop in a way on a regular basis so you have some of these options lying around, but once you introduce these things into your diet and shop in this manner, you can open your fridge at any given time and throw together a spread. There are endless options for each group, but here are my family’s favorites:

Vegetables Cold Cuts/Fish Cheeses Bread
Green onions Toscano salami Blue cheese Sourdough baguette
Fennel (anus) Soppressata salami Pecorino Focaccia
Tomatoes Genoa salami Mozzarella Rustic Italian
Garlic Prosciutto Parmigiano Bread sticks
Mushrooms Coppa (hot or mild) Brie Sicilian parchment crackers (my new fav from TJ’s)
Broccolini Mortadella Swiss
Radish Head cheese Goat cheese
Endive Sardines Munster
Raddichio Anchovies Really any fun variety you find!
Sundried tomatoes
Marinated peppers
Raw peppers
Artichoke hearts
Marinated button mushrooms
Olives (all kinds)
Avocado

Once you decide on the options you want, pull out large serving platters. Ones with separations in them are good for the marinated veg so their juices stay contained in one place. As for the raw veg and the cold cuts, put all veg on one or two platters and the cold cuts on the other (usually we keep the fish like sardines and anchovies separate from the cold cut platter.) Fyi, all these items are served cold- there’s no cooking involved! To save room and for nice presentation, cold cuts can be folded in half or rolled up as placed on the platter. The picture below is of our Palm Sunday lunch this year……for five people. Bet you can guess we had quite a few leftovers…..

photo-4Lastly, how to eat it! Yes, I am giving you tips on how to eat because as I mentioned in the beginning, this is significant to the experience and the best part! The idea behind the variety of cold cuts, veg, bread, and dipping oil is to be able to make endless combinations as you eat.

Simply do it in this order: pick, dip, combine, and eat.

Then you repeat, switching to a new combo. A combo usually consists of a piece of bread, hunk of cheese, piece of cold cut, and maybe veg on top, which are dipped into the oil. Sometimes in between my mini open face sandwhich combos, I pick up a strand of green onion or other veg, pucha (dip), and eat. This is all done with your hands. The only silverware present are the cheese knives or the forks to pick up marinated veg. This is not to be a super neat process, have fun and get your fingers oily!

photo-5

Since my blog also focuses on healthy eating and being aware of processed food, some tips: Pay attention to the quality and ingredients in Italian cold cuts you buy. Cheap brands will have unnecessary added ingredients like corn syrup….(really!?). Unfortunately, a lot of types of salami have some sort of added sugar for preservation reasons, but just try to find brands with as little as possible. As for prosciutto- there should never be any other ingredients except pork and salt. Traditional prosciutto is made through a curing process, where the ham is cured with salt, making no other preservatives necessary.

Also, you may be thinking “those cold cuts sure have a lot of fat.” I’m here to remind you that some fat and especially healthy fats, like those found in avocados and olive oil, are not your enemy- sugar is! So enjoy your fatty prosciutto, cheese, and olive oil- just do so with the meats and cheeses in moderation. This is why this kind of spread isn’t eaten every single day, and is a once in while lunch choice. There’s a reason 90 year Italians in Italy are riding bikes and zooming past out of breath tourists up steep staircases……..

I hope this has helped and that you enjoy creating your own Italian eating experience. After a few dips of this or that, don’t forget the most important part, which is to wash it all down with a big glass of vino!

Mangia.